Fall 2015
Spring 2015
Fall 2014
acrylic painting
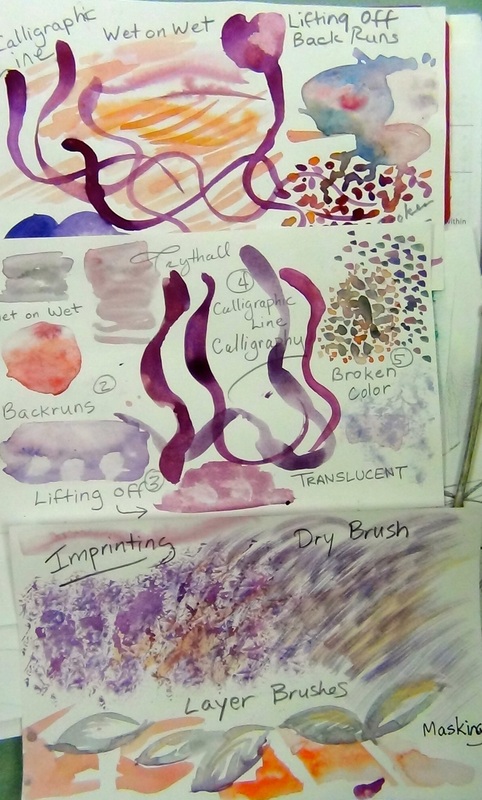
Watercolors fall 2013
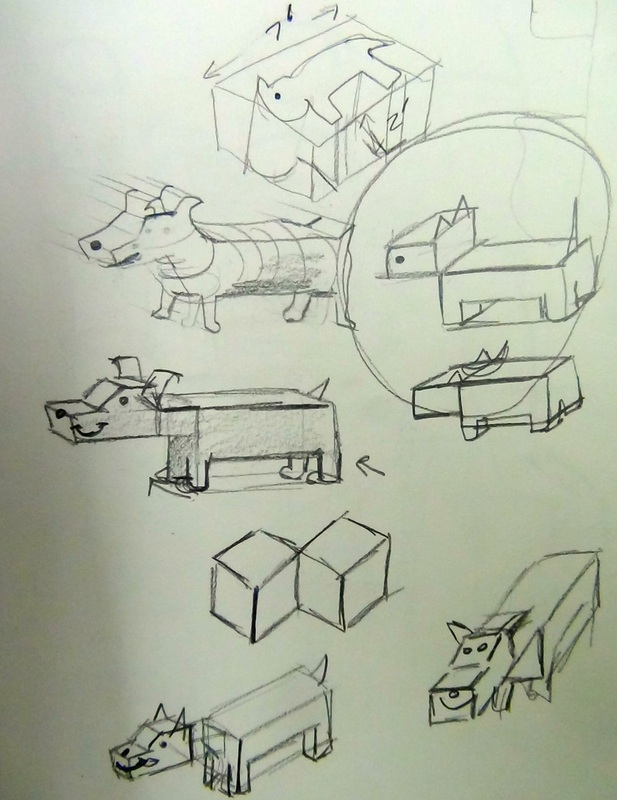
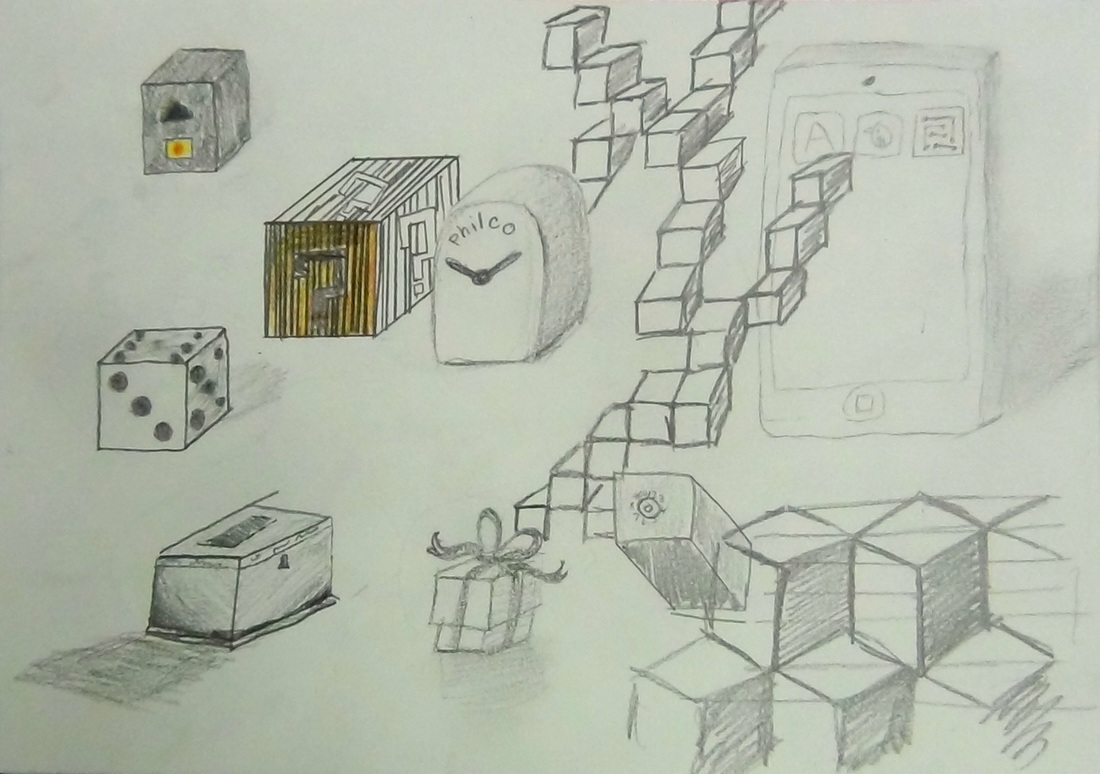
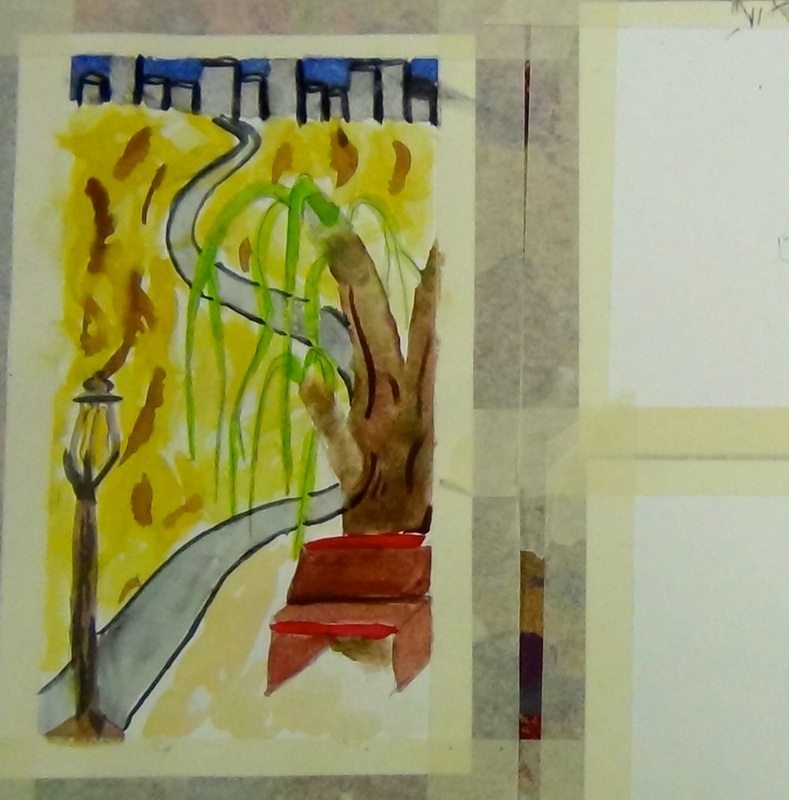
3d scenes
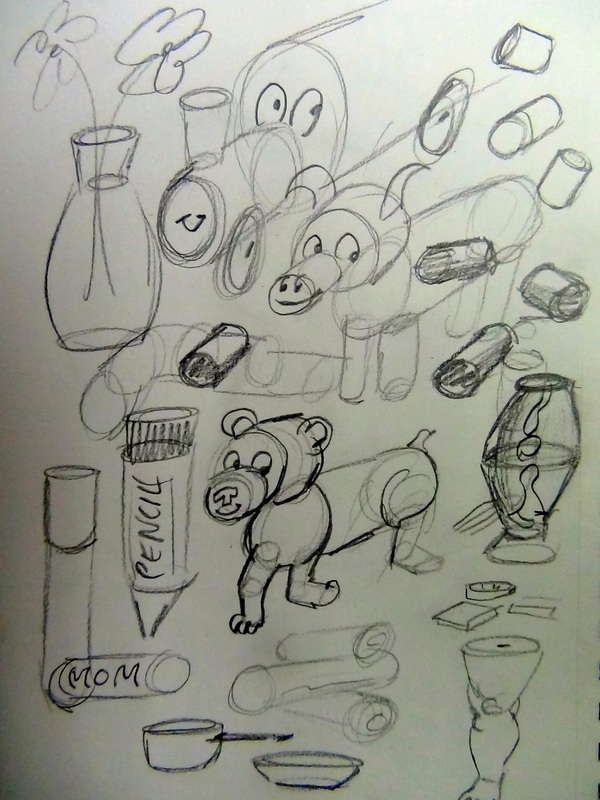
formal doodle
brief perspective
cubes
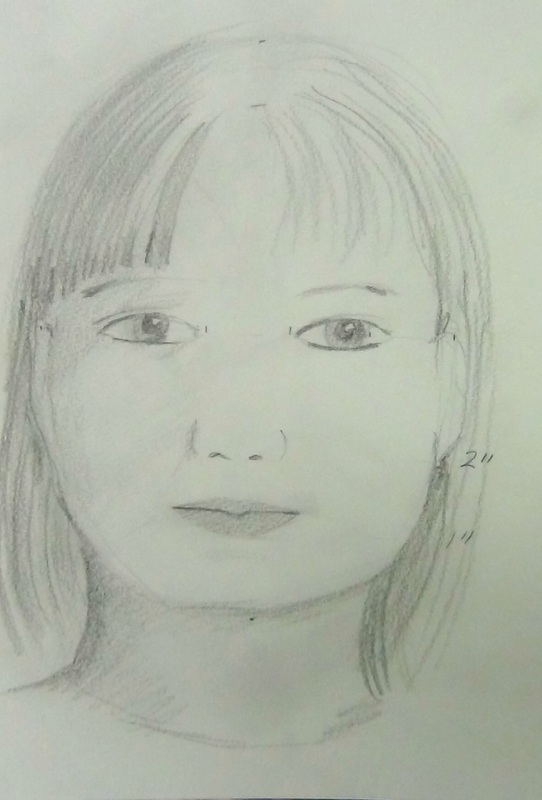
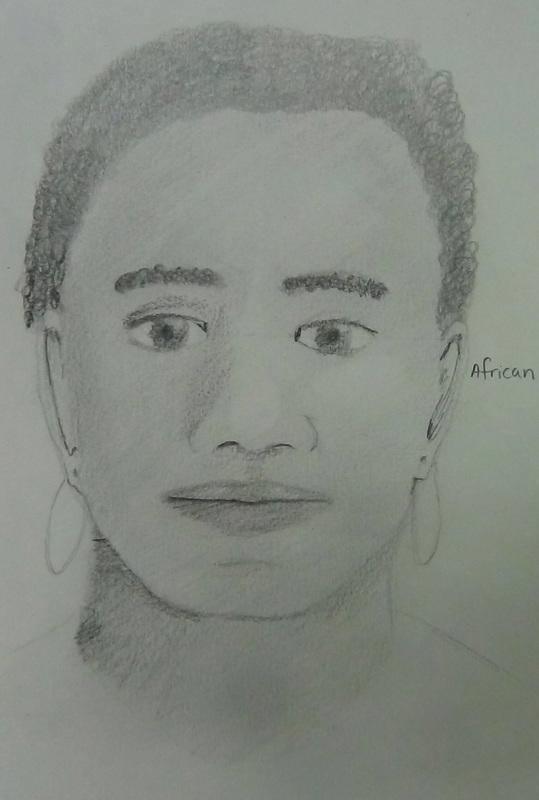
northern/southern European faces
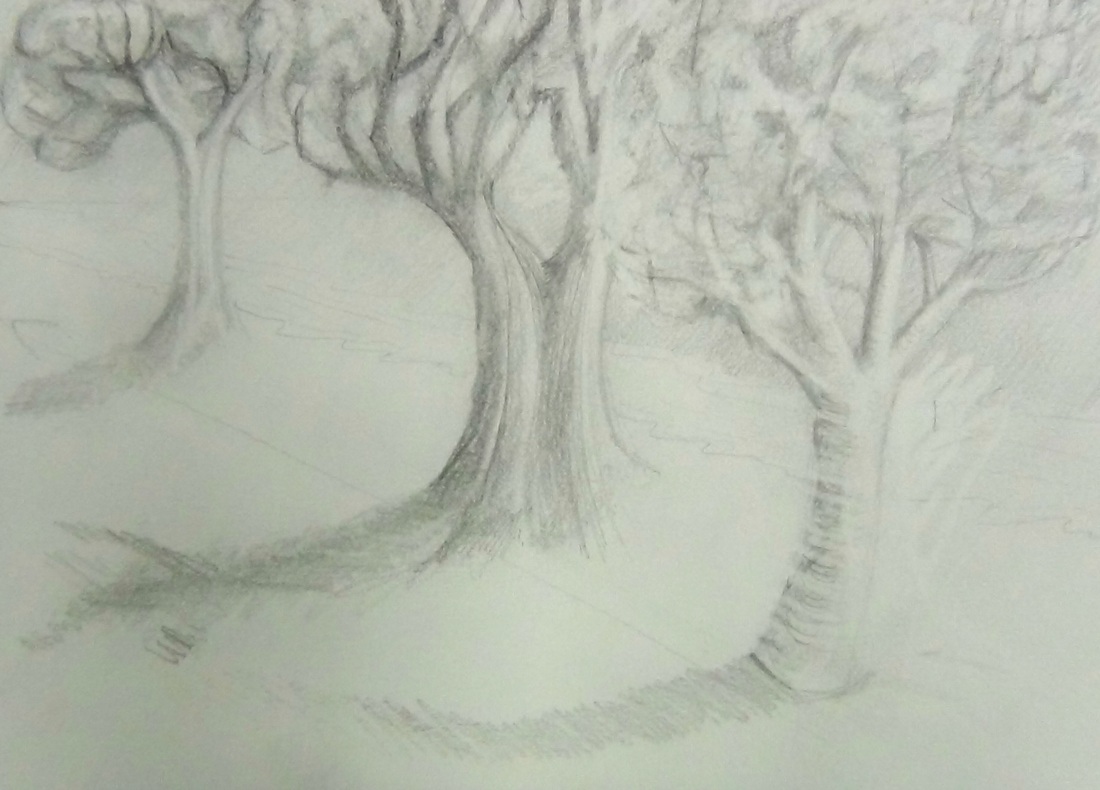
tree
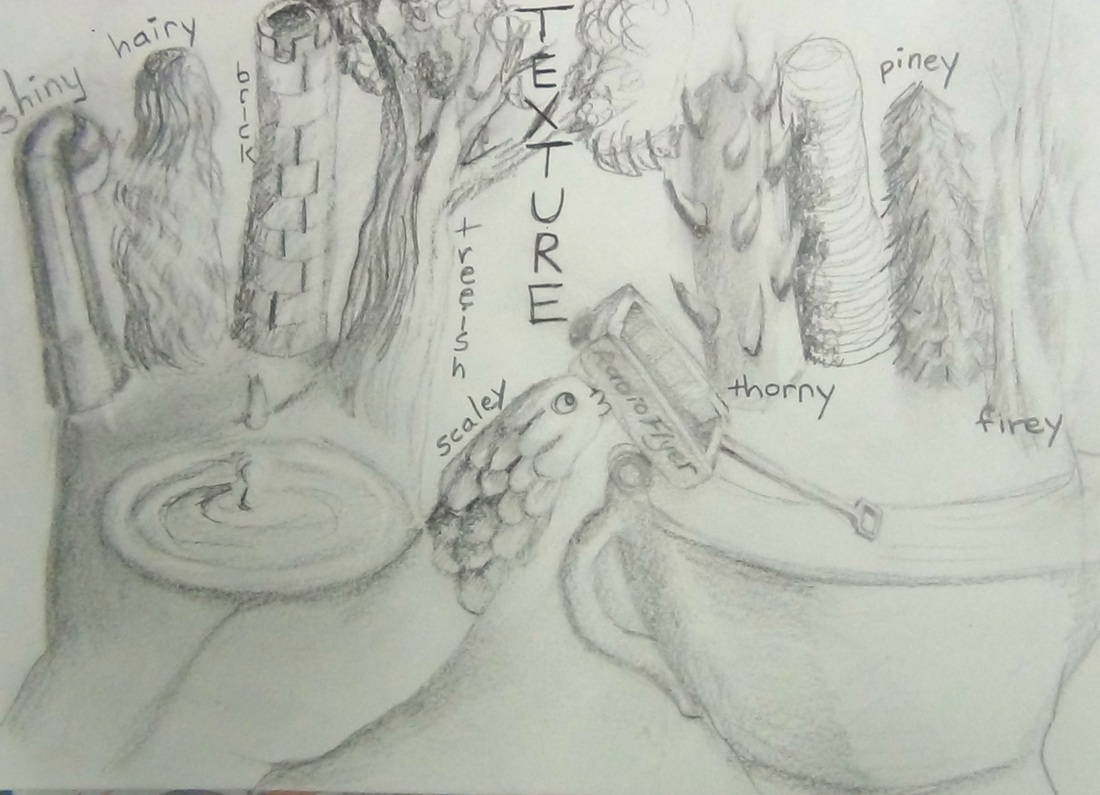
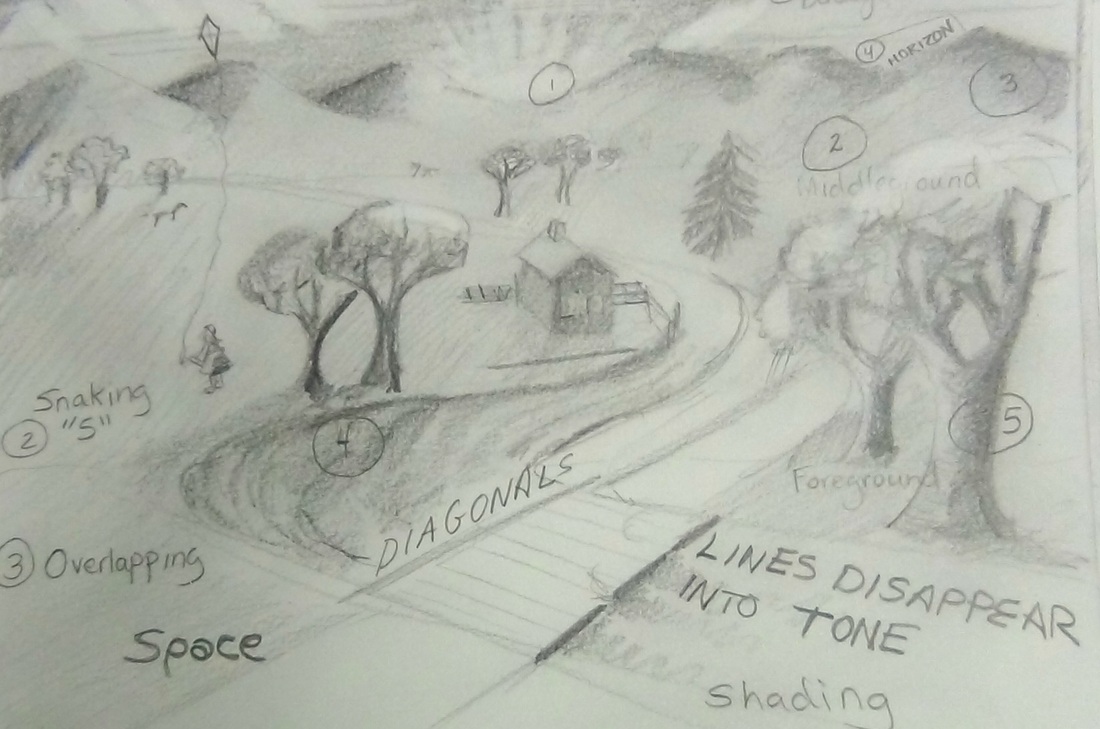
spatial devices
very simple animals roughed in
CREATIVE ART INDEX
Community Sharing Oo-Ah Critique Mounting Matting/Framing Online Museums Drawing Facial Features Facial Expressions Ethnic Features Nature/Landscape Fractals Animals Flowers Spatial Devices People/Bodies Aerial Perspective 3D lettering Caricature Drawing from Observation Outdoor Drawing Printmaking Relief Printmaking Monotype Printmaking Watercolor Watercolor Techniques/History Watercolor Illusionistic Space Watercolor Illustration Watercolor Inventions Acrylic Painting Preliminary Painting Sketching Acrylics and Color Theory Acrylic Blending Techniques/History Acrylic Painting Paper Canvas Acrylic Painting Ceramics Slip Mold Slab Pottery Slump Mold Sgraffito Design Ceramic Sculpture Wheel Pottery Figurative Ceramic Architectural Ceramics Graphic Arts Colored Pencil Techniques Pen and Ink Techniques Pastels Chalk Pastel 3D Objects on Cards Chalk Pastels Scenery Chalk Pastel Portraits Chalk pastel Abstraction Oil Pastel Blended 3D objects Oil Pastel Scenery Oil Pastel Portraits Oil Pastel Abstractions Cartooning Anthropomorphic/ Western/ Anime Caricature - practice/history Modeling clay Cartoon Character Cartoon Scrolls 8 Frame Cartoons Cartoon Flipbook Comic book Orthographies in Cartooning Videos Perspective in Cartooning Videos Japanese Anime Films Super Heroes in Cartooning - Collectables Doodle/Design Design - Zentangles Doodles - Life Stories Miscellaneous Origami Box with Lid Elements of Design Through the world Visiting Artist Calligraphy |
Fall 2014 Spring 2015 Fall 2015 Spring 2016
CREATIVE ARTS ESSENTIAL QUESTIONS
| ||||||||
|
|
- Exhibiting Now in Taos Blog
- Art Selections
- K. Trythall Bio
- Last Teaching Overview
- Creative Arts Lessons
- Fine Arts Lessons
- Craft Lessons
- Miscellaneous Art
- Links to Electronic Art for Fall from 2013 through spring 2015
- 2013-14 archive animations
- Google Virtual Gallery Tour Page
- in progress animations fall 2014